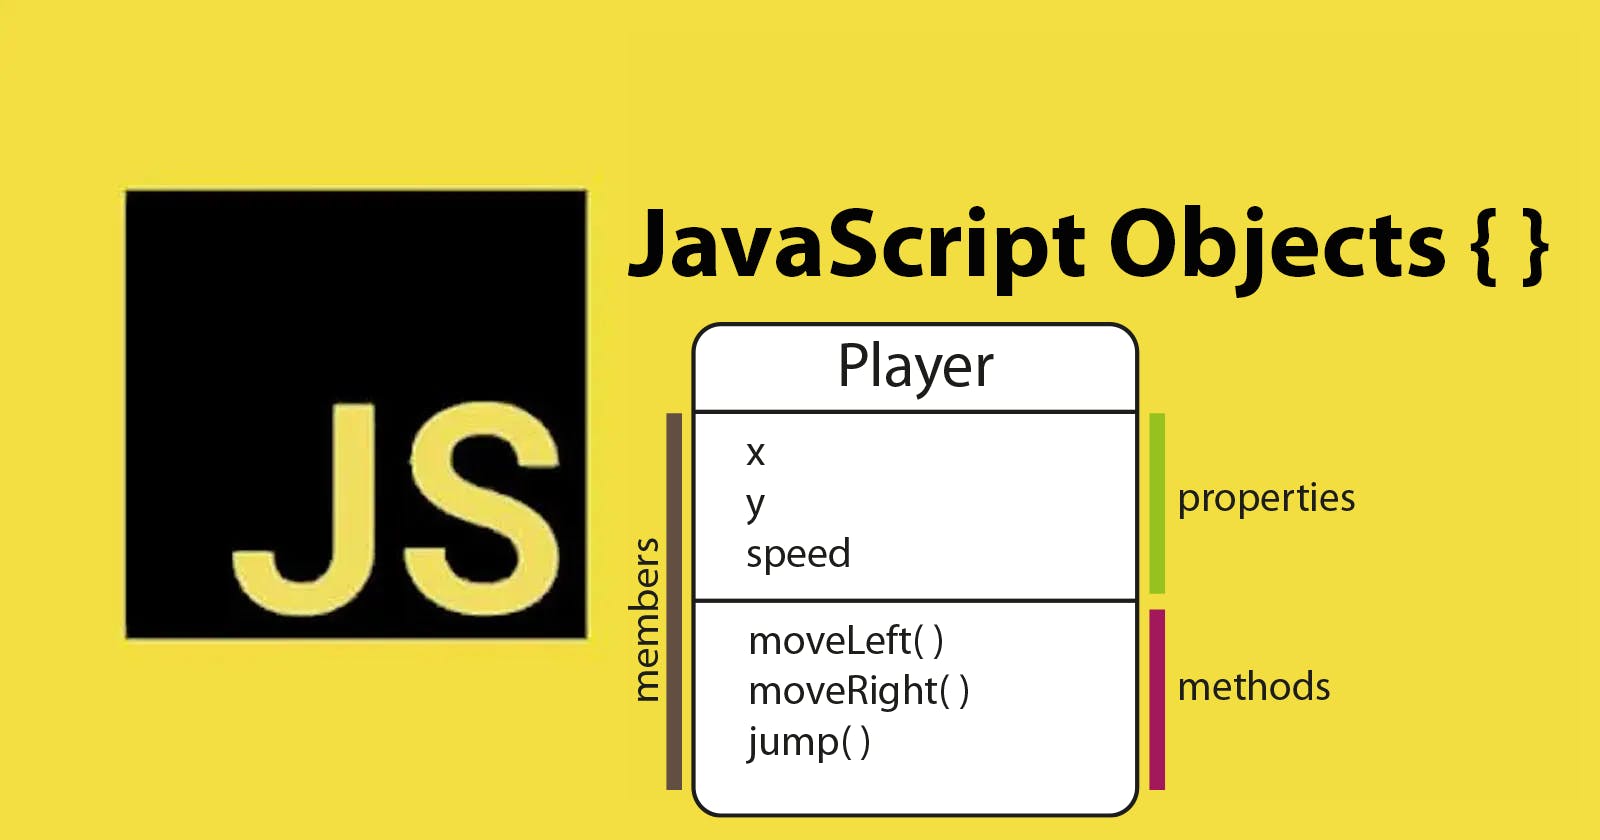
Objects are key to understanding object-oriented programming. Look around you, tangible things you see and interact with every day. People, vehicles, and animals are all types of objects and these real-world objects share two characteristics:
They all have a state (the object's properties)and behaviour (the object's methods).
In object-oriented programming, an object's behaviour refers to the actions that it can perform, and an object's state refers to the values of its properties at a given point in time.
Here are some examples of object behaviour and state using real-world objects:
A car can accelerate, brake, and turn. These are all examples of the car's behaviour. The car's state may include properties such as its current speed, the amount of fuel in its tank, and the gear it is in.
A person can walk, talk, and eat. These are all examples of the person's behaviour. The person's state may include properties such as age, height, and current mood.
Here is an example of how we can describe the behaviour and state of a cat using object-oriented programming concepts:
State (properties):
A cat's state may include properties such as its age, breed, and colour. Other properties that describe the cat's state could include its current level of hunger, its energy level, and its mood (e.g. happy, angry, scared). For example, we might say that a cat named "Tiger" is a 3-year-old Persian who is currently in a playful mood.
Behaviour (methods):
A cat can meow, purr, and scratch. A cat can also perform various actions related to hunting, such as stalking and pouncing on prey.
Objects in JavaScript are used to model real-world objects, giving them properties and behaviour just like their real-world counterparts. JavaScript objects are collections of key-value pairs that can represent real-world objects.
In a platform game, we might have objects such as a player character, enemies, power-ups, and obstacles.
To create an object in JavaScript, we can use the object literal syntax:
const obj = {
  key: value
};
Let's define a simple object for the player character:
const player = {
  x: 0,
  y: 0,
  speed: 5,
  moveLeft() {
    this.x -= this.speed;
  },
  moveRight() {
    this.x += this.speed;
  },
  jump() {
    this.y -= this.speed * 2;
  }
}
The player object has three properties: x and y represent the player's position on the screen, and speed represents the player's movement speed. These properties represent the object's current state.
The player object also has three methods for moving left, moving right, and jumping. These methods represent the behaviour of the player object.
We can access and modify the properties of an object using dot notation or bracket notation.
Dot notation uses a dot (.) followed by the property name:
console.log(player.x); // 0
player.x = 10;
Bracket notation uses brackets ([]) enclosing the property name as a string:
console.log(player['y']); // 0
player['y'] = 20;
Bracket notation is useful when the property name is not a valid identifier (e.g. contains spaces or special characters) or when the property name is stored in a variable.
We can also add or remove properties from an object using the delete operator:
player.score = 0;
delete player.speed;
In addition to storing data (the object's state), objects can also contain methods, which are functions associated with an object. In our player example we have three methods to move the player left, right, and make it jump.
const player = {
  x: 0,
  y: 0,
  speed: 5,
  moveLeft() {
    this.x -= this.speed;
  },
  moveRight() {
    this.x += this.speed;
  },
  jump() {
    this.y -= this.speed * 2;
  }
}
We can call these methods using dot notation or bracket notation:
player.moveLeft();   //dot notation
player['jump']();    //bracket notation
Now let's create some objects for enemies in our platform game. We can use the object literal syntax to create multiple enemy objects with similar properties:
const enemy1 = {
  x: 50,
  y: 50,
  speed: 3
};

const enemy2 = {
  x: 100,
  y: 100,
  speed: 4
};

const enemy3 = {
  x: -100,
  y: -100,
  speed: 10
};
However, if we want to add a method that is shared by multiple objects, it can be more efficient to use the object's prototype. The prototype is an object that is shared by all instances of a particular object type.
To add a method to an object's prototype, we can use the following syntax:
objectName.prototype.methodName = function() {
  // method code here
};
For example, let's say we want all enemies to have a moveDown() method that makes them move down the screen. We can do this by adding the method to the enemy object's prototype:
enemy.prototype.moveDown = function() {
  this.y += this.speed;
}
Properties in the prototype are shared among ALL instances of our enemy objects. Now every enemy object will have a moveDown() method that we can call:
enemy1.moveDown();
enemy2.moveDown();
enemy3.moveDown();
The prototype is an important concept in JavaScript because it allows us to create object hierarchies using the prototype chain. The prototype chain is a mechanism for inheritance, where an object can inherit properties and methods from its prototype.
So we can create object hierarchies using the prototype chain. For example, let's say we want to create a stronger enemy type that is a subclass of the basic enemy object. We can do this using the Object.create() method:
const strongEnemy = Object.create(enemy);
strongEnemy.health = 50;
The strongEnemy object will have all the same properties and methods as the enemy object, but we can also add additional properties such as health.
The prototype is an important concept in JavaScript because it allows us to create object hierarchies using the prototype chain. The prototype chain is a mechanism for inheritance, where an object can inherit properties and methods from its prototype.
This is just a brief overview of the prototype and prototype chain in JavaScript. For more information, you can refer to the following resources:
