

What is Tailwind CSS?
Tailwind CSS burst onto the full-stack developer scene with a fundamentally different and innovative approach called Utility-First. This approach revolutionizes the way we style web applications by focusing on utilities that directly define styles, such as margin, padding, colours, and borders. At first, this utility-first methodology may seem counterintuitive, but it offers unparalleled freedom in defining layouts directly within components.
What sets Tailwind CSS apart is its extensive range of modifiers and customizations, providing developers with precise control over style variations. With Tailwind CSS, you can easily handle media query breakpoints, pseudo-elements, attributes, and even user settings like dark mode. This makes Tailwind CSS the ideal choice for working with CSS in module-based frameworks such as React, Vue, Angular, or Svelte.
Utility-First Approach
The utility-first approach is what sets Tailwind CSS apart from other CSS frameworks. Instead of relying on predefined styles, Tailwind CSS provides an extensive collection of utility classes that can be directly applied to HTML elements. These utility classes represent specific CSS properties, such as margin, padding, typography, colours, and more. By composing and combining these utility classes, developers can rapidly build and customize their designs without writing custom CSS.
Installing and Using Tailwind CSS
Step 1: Installation
I am using MacOS Ventura 13.3.1 and the following instructions are for MacOS. Before you begin make sure you have Node.js installed on your system. Here are mine:
> node --version
v16.15.1
> npm --version
8.11.0
- Create a new project or navigate to your existing project's root directory. On my desktop I will create a new directory called tw-example and navigate inside the folder:
> mkdir tw-example && cd tw-example
> pwd
/Users/pedbad/Desktop/tw-example
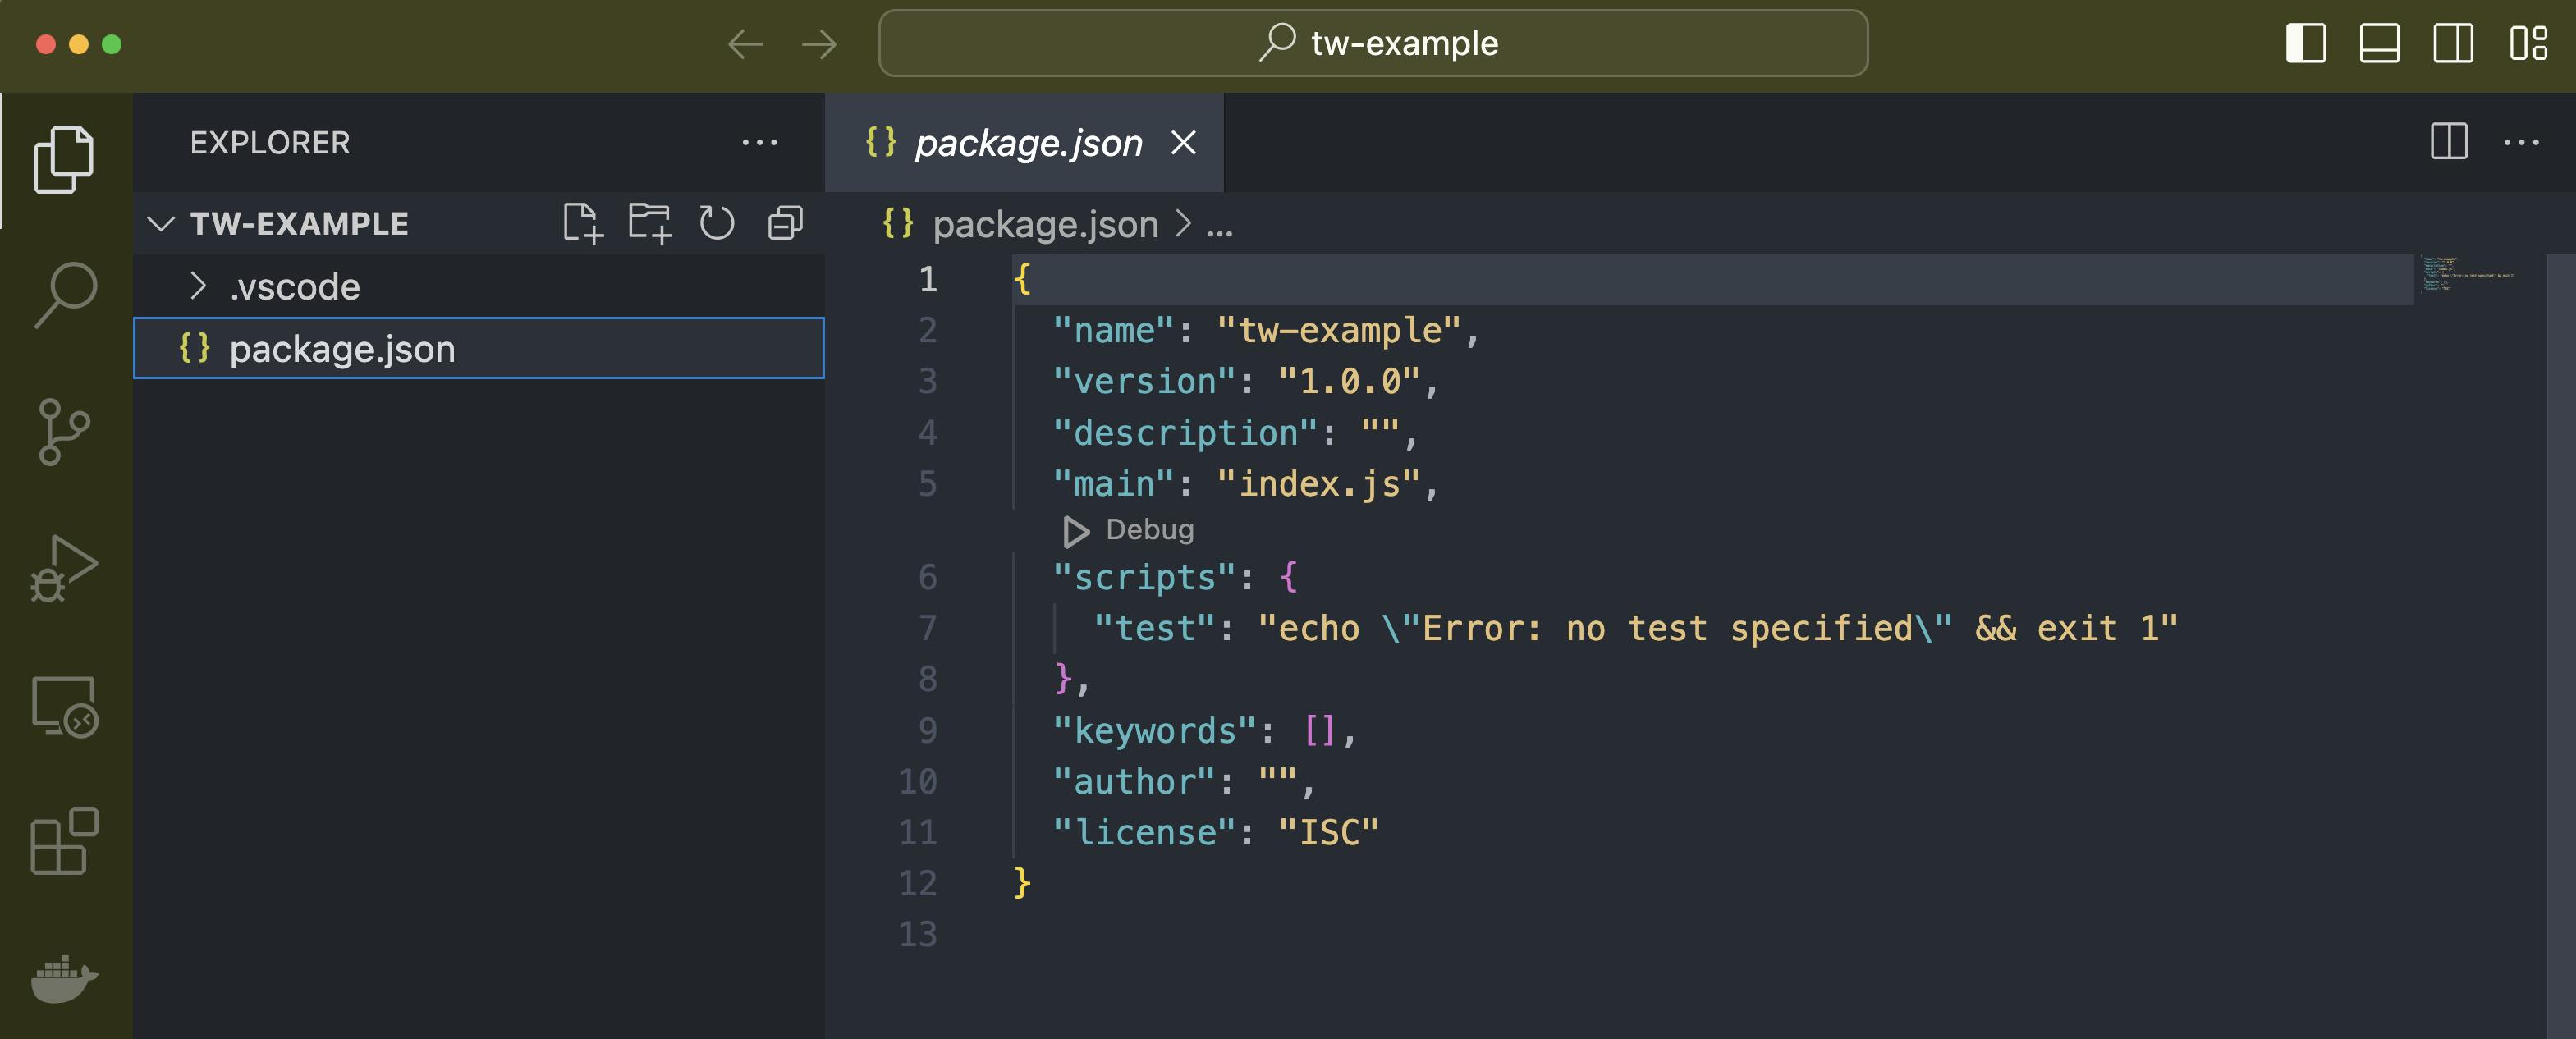
Now that you are inside your project directory you need to create a new package.json file using npm the node package manager; this is why you need node.js installed on your system. To create this file use npm init -y to create a default package.json file and fill out all the options with default values.
> npm init -y
Wrote to /Users/ped/tw-example/package.json:

{
  "name": "tw-example",
  "version": "1.0.0",
  "description": "",
  "main": "index.js",
  "scripts": {
    "test": "echo \"Error: no test specified\" && exit 1"
  },
  "keywords": [],
  "author": "",
  "license": "ISC"
}


 ~/tw-example
In VSCode you should see the newly created package.json file
We need this file to keep track of all our dependencies that we are going to install, and of course one of those dependencies is going to be tailwind.css.
We will use npm command again to install tailwind.css:
> npm install tailwindcss
This will install the tailwind package inside our project directory, when this is done you should see an updated package.json file with tailwind.css listed as a dependency:
{
  "name": "tw-example",
  "version": "1.0.0",
  "description": "",
  "main": "index.js",
  "scripts": {
    "test": "echo \"Error: no test specified\" && exit 1"
  },
  "keywords": [],
  "author": "",
  "license": "ISC",
  "dependencies": {
    "tailwindcss": "^3.3.2"
  }
}
You will also see a newly created node_modules directory created. This is where tailwind and all the packages it depends on are stored.
Now that tailwind has been installed you can begin to use it in your project. You can use tailwind on its own or use it as a plugin with PostCSS which is a tool for transforming CSS with JavaScript.
In this tutorial, I will use tailwind on its own.
How does Tailwind work
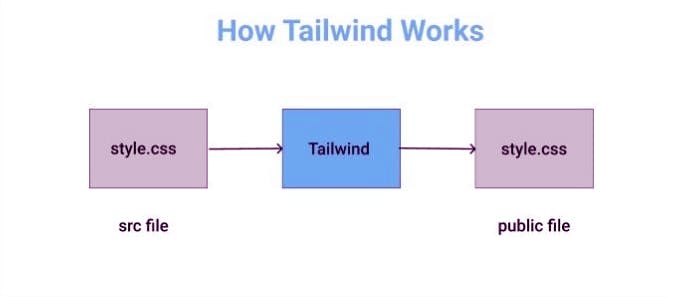
When we use tailwind we create a src file where we import all of the tailwind core styles or functionality and we can also write our own CSS styles if we want to inside this file using tailwind features and syntax as well. Then we use tailwind to process the src file into a Vanilla CSS output file at build time with all the final CSS rules inside it. Finally, we can link to that output CSS file from our html page.
So every time we make a change in our src CSS file we need to run a tailwind script to process the src file into a new output CSS file. This may sound arduous but with tailwind we mainly use utility classes inside the html file, so the src file rarely needs to change, also this processing can be automated.
So let's create our src folder and our public folder. Our src folder is where our src files are going to go (the CSS we write with tailwind) and our public folder is where our final output CSS is going to go after tailwind has processed it. The public folder is also where we can place out html files and front-end JavaScript files and any other resources we may use for deployment.
Inside the src folder, we create a new CSS file, I called mine input.css and inside this file, we have to import the base functionality of tailwind. You can see how this is done by reading the tailwind documentation.
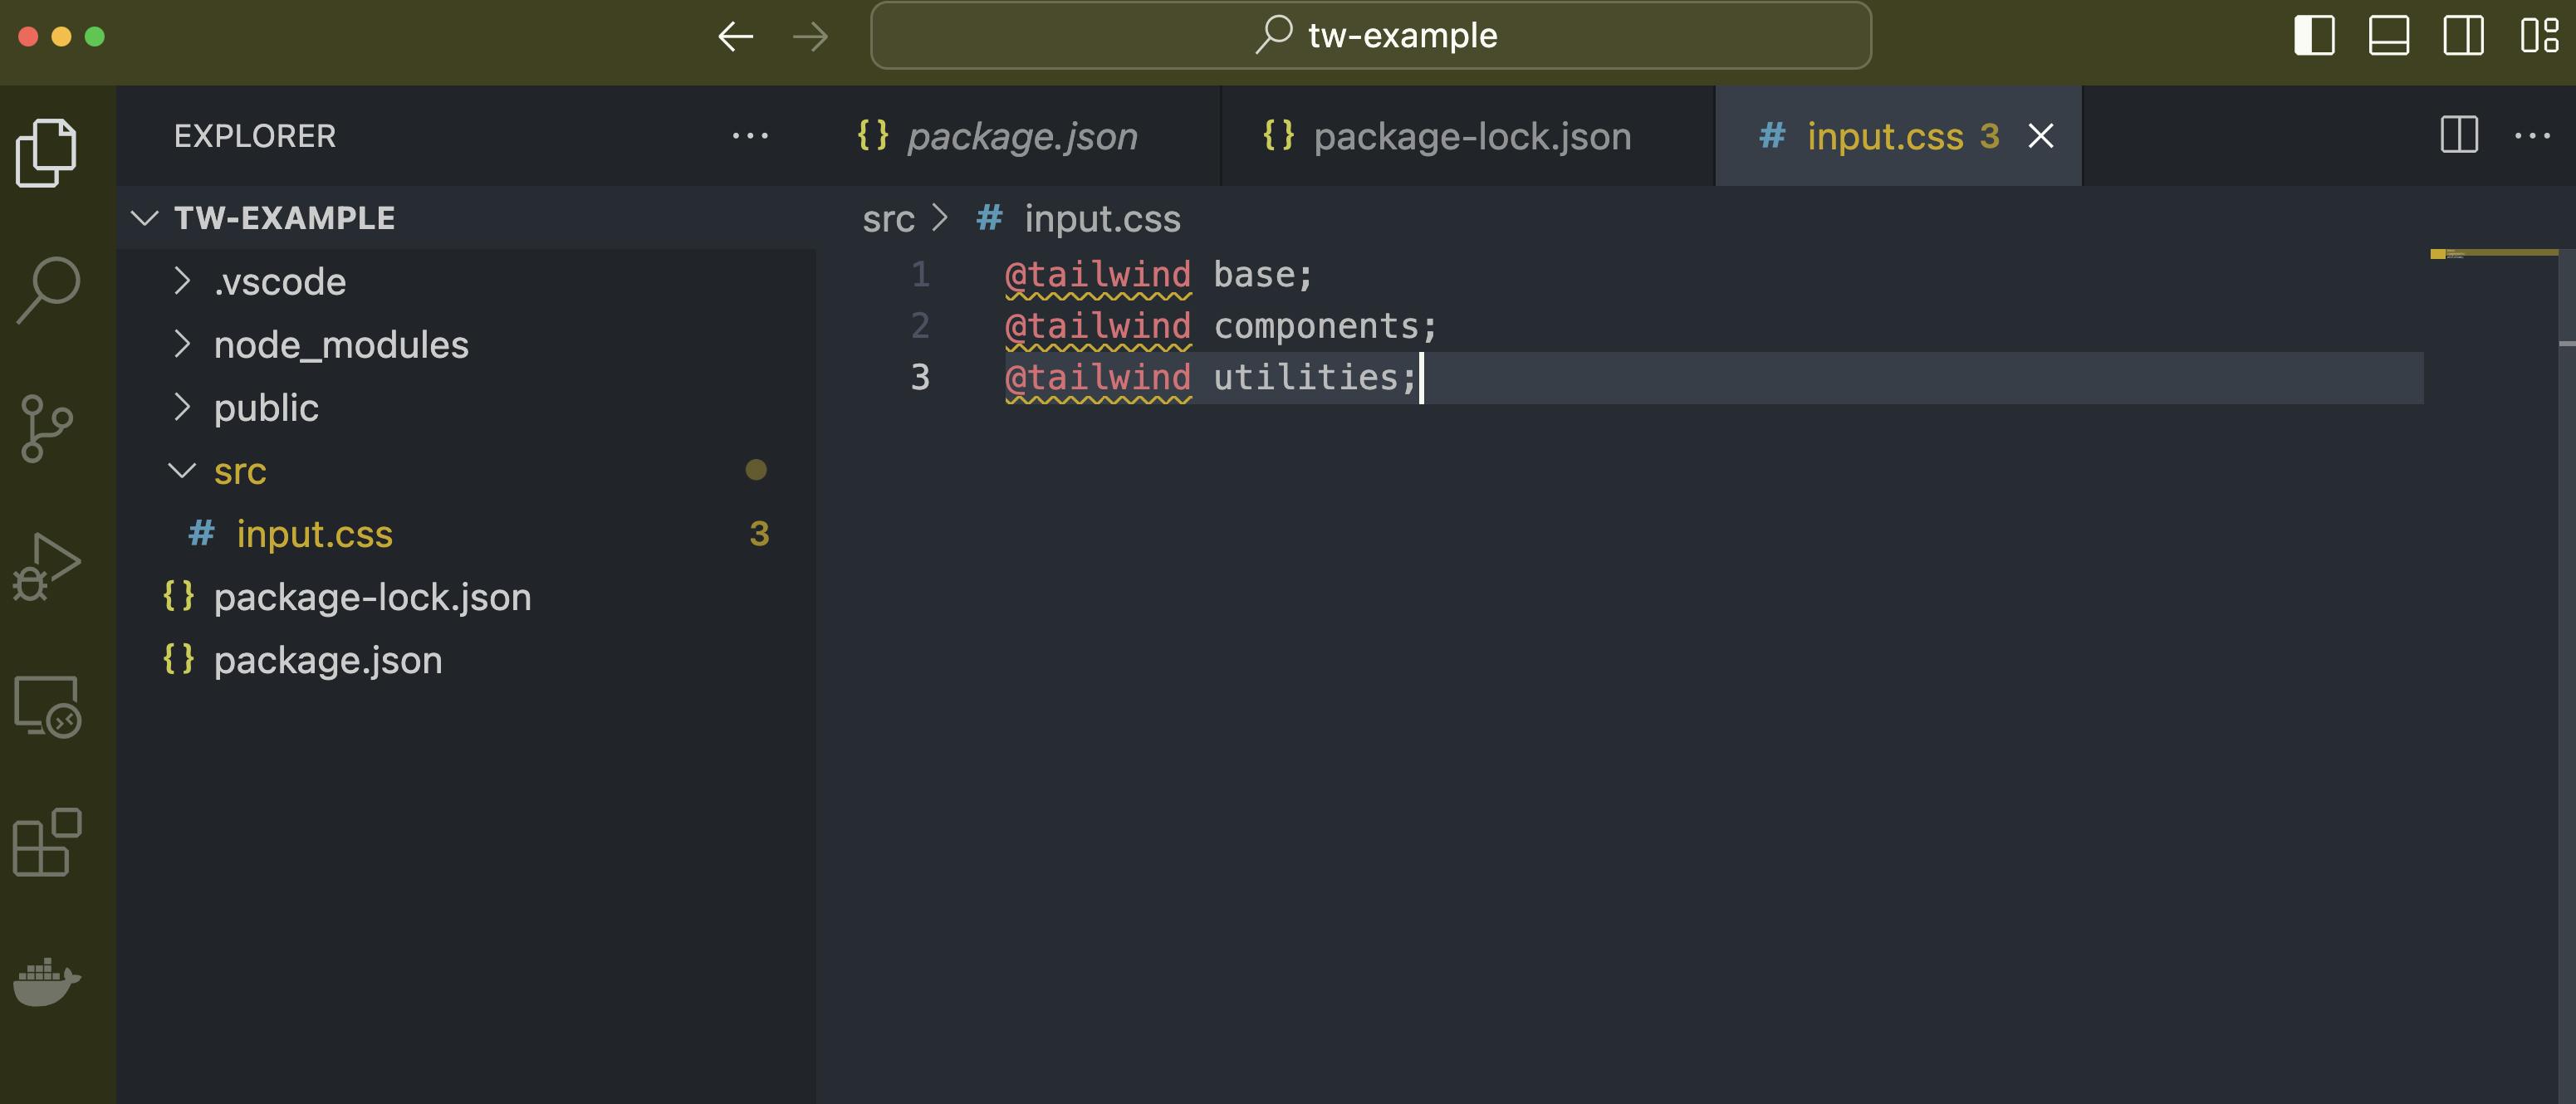
So inside the input.css, we need to use the @tailwind directive to inject Tailwind’s base, components, and utilities styles:
@tailwind base;
@tailwind components;
@tailwind utilities;
Now we have done this, we could process this file through tailwind so that it creates our final output file inside our public folder.
To do this we need to go to our package.json file and in the scripts section we will delete the test script and replace it with one called build-css. We will use the buid-css script to process the input.css into our output Vanilla CSS file:
{
  "name": "tw-example",
  "version": "1.0.0",
  "description": "",
  "main": "index.js",
  "scripts": {
    "build-css": "tailwindcss build -i src/input.css -o public/style.css"
  },
  "keywords": [],
  "author": "",
  "license": "ISC",
  "dependencies": {
    "tailwindcss": "^3.3.2"
  }
}
Aswell as adding the build-css to the scripts section of our package.json file, we will need to create a new tailwind.config.js file at the root of our project directory and add the following :
module.exports = {
  content: [
    './src/**/*.html',
    './src/**/*.js',
    // Add any other file types or directories that contain your HTML/JS code
  ],
  // Rest of your Tailwind config...
};
In the content array, you need to specify the paths to the files that contain your HTML or JavaScript code. The content option is used by Tailwind CSS to analyze your code and extract the utility classes used. This information is then used to generate a leaner CSS output with only the necessary utility classes.
Make sure to update the paths in the content array based on your project's file structure. For example, if your HTML files are located in a directory called pages, you would include './src/pages/**/*.html'.
Now, to generate our style.css we need to use npm again:
> npm run build-css
After running the command, tailwind will process the input.css file and output a style.css file inside our public folder:
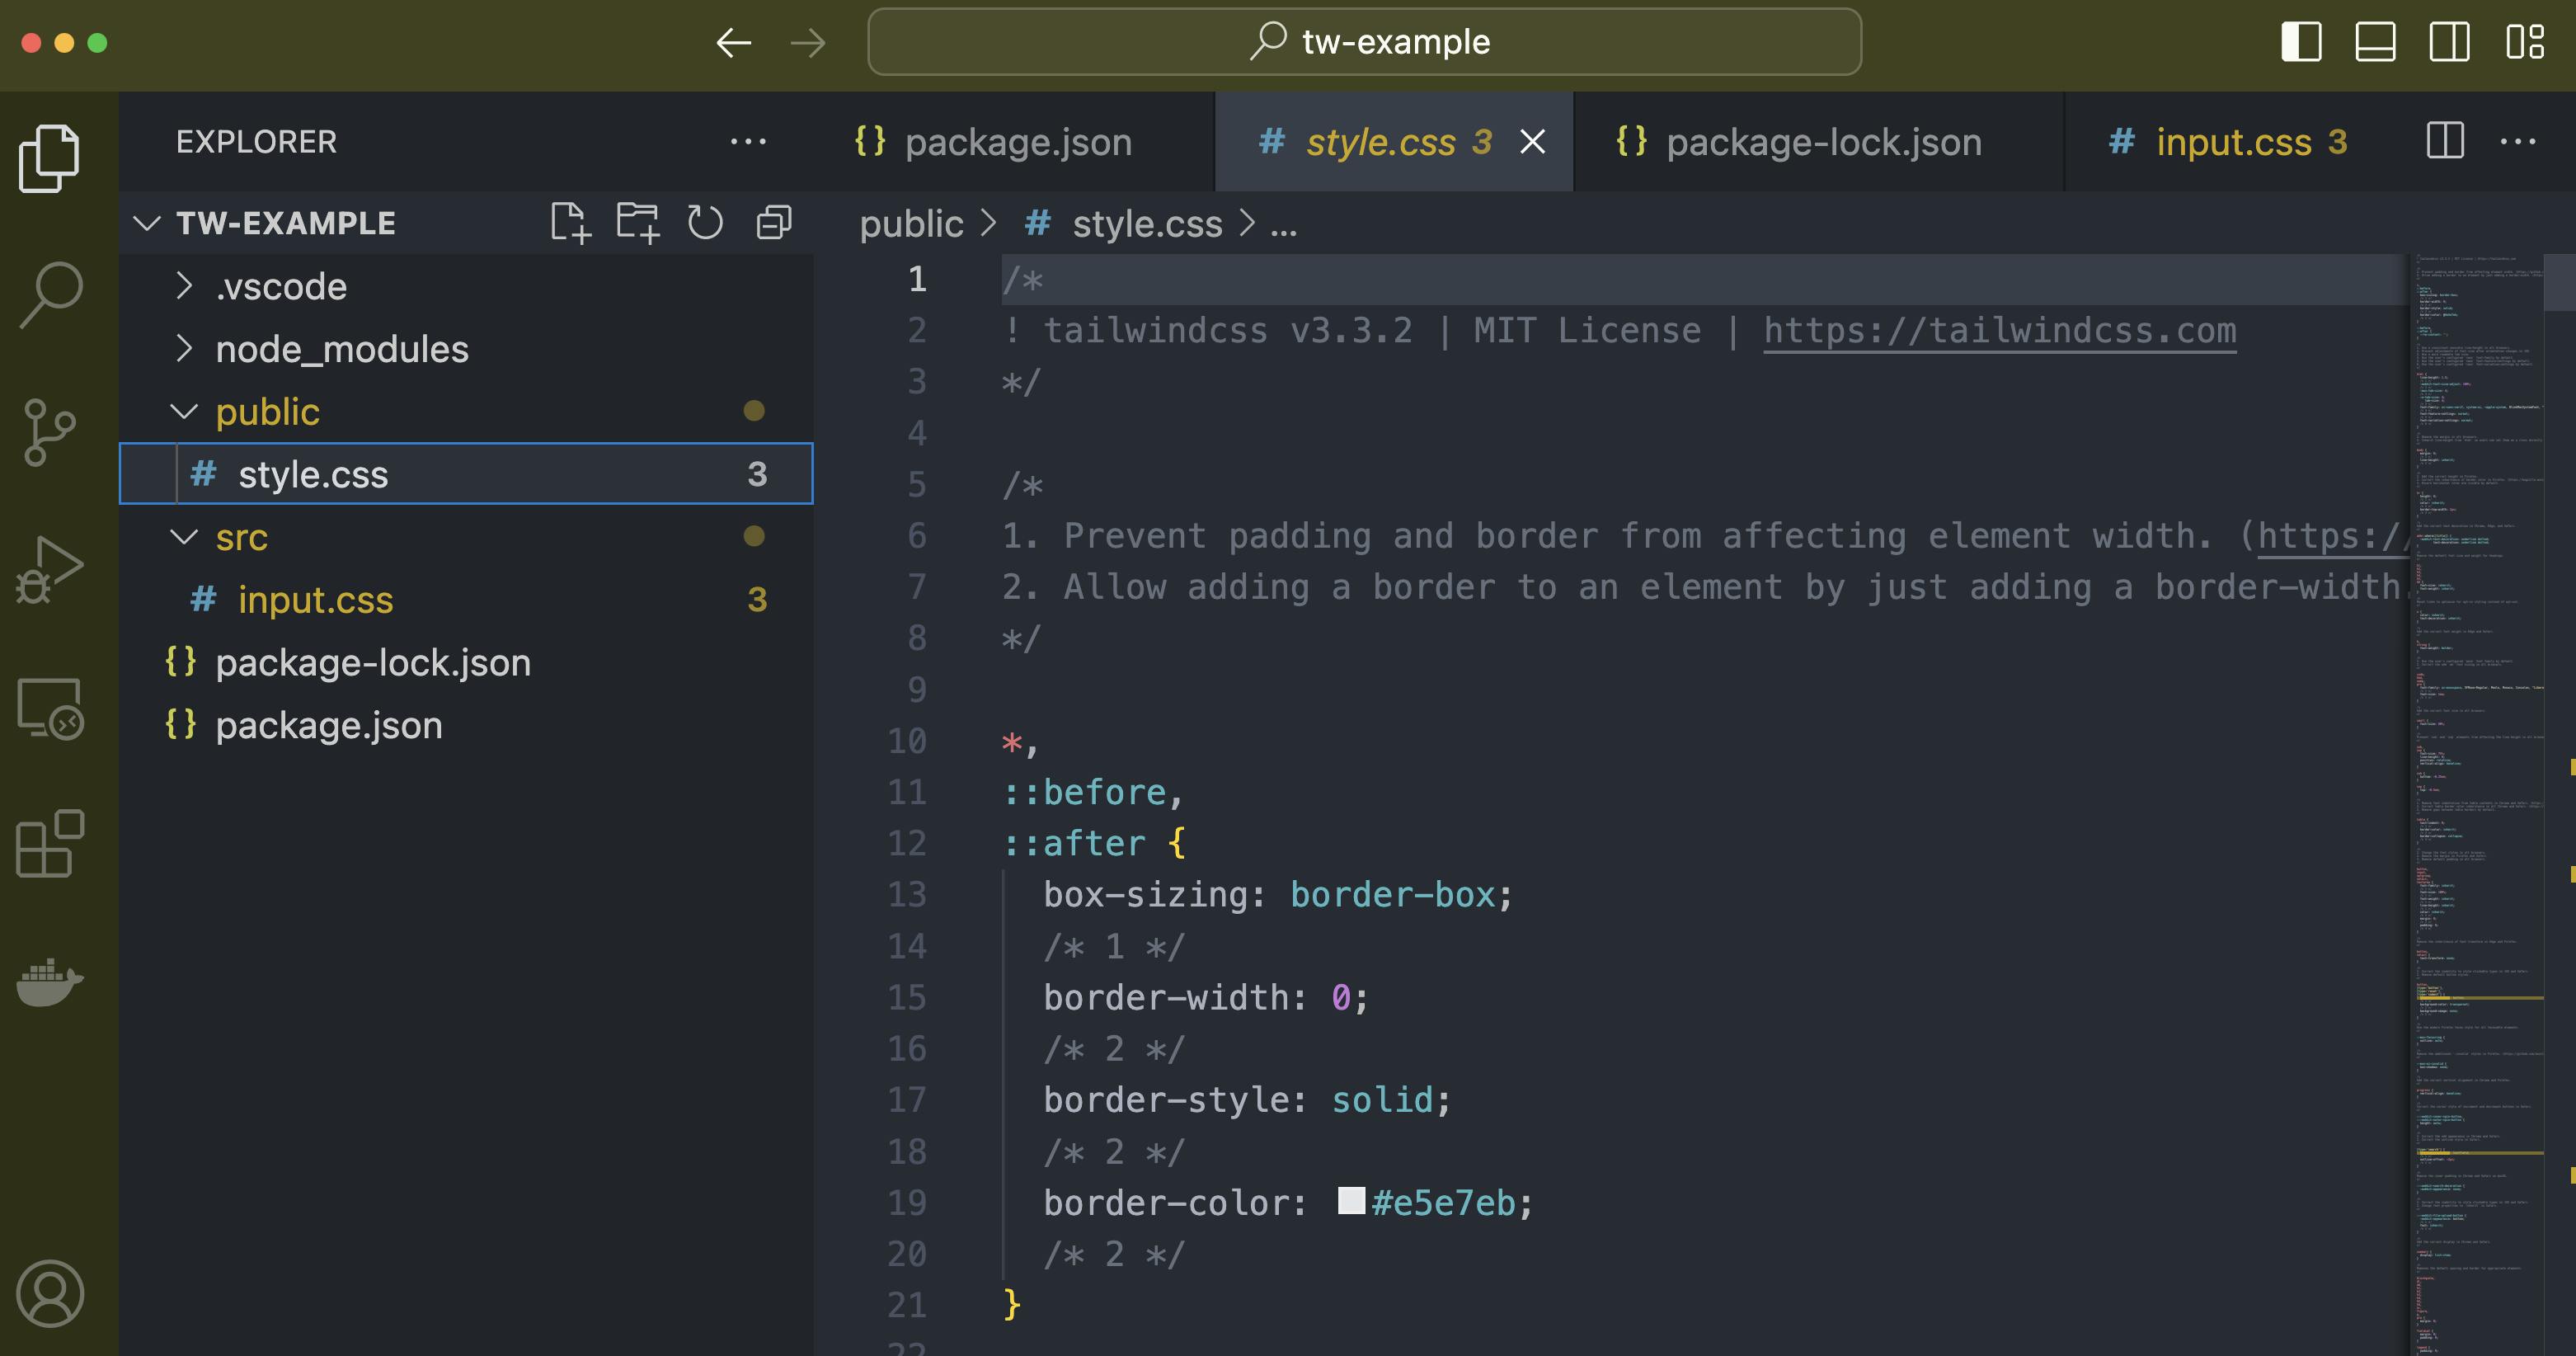
The style.css file generated in our public folder has all of the tailwind utility classes inside it. So you can link this style.css file inside your html files. Whenever you change the input.css you will need to use tailwind to reprocess the input.css file and create a new style.css file. This is the arduous part of using tailwind. However the process can be automated.
To automatically call the build-css script whenever the input.css file is changed and saved, you can use a third-party tool like onchange in conjunction with the npm package.json scripts. Here's how you can modify your package.json file:
- First, install the
onchangepackage as a development dependency by running the following command:
> npm install onchange --save-dev
You will see that your package.json file has been updated with the new dev dependency:
{
  "name": "tw-example",
  "version": "1.0.0",
  "description": "",
  "main": "index.js",
  "scripts": {
    "build-css": "tailwindcss build -i src/input.css -o public/style.css"
  },
  "keywords": [],
  "author": "",
  "license": "ISC",
  "dependencies": {
    "tailwindcss": "^3.3.2"
  },
  "devDependencies": {
    "onchange": "^7.1.0"
  }
}
- Modify your package.json file's
scriptssection to include a new script that watches for changes in theinput.cssfile and triggers thebuild-cssscript. Update your package.json file as shown below:
{
  "name": "tw-example",
  "version": "1.0.0",
  "description": "",
  "main": "index.js",
  "scripts": {
    "build-css": "tailwindcss build -i src/input.css -o public/style.css",
    "watch-css": "onchange 'src/input.css' -- npm run build-css"
  },
  "keywords": [],
  "author": "",
  "license": "ISC",
  "dependencies": {
    "tailwindcss": "^3.3.2"
  },
  "devDependencies": {
    "onchange": "^7.1.0"
  }
}
- Save the modified package.json file.
Now, you can run the following command to start watching for changes in the input.css file and trigger the build-css script automatically:
> npm run watch-css
This command executes the watch-css script, which uses onchange to monitor the src/input.css file. Whenever changes are detected and saved, it will trigger the build-css script defined in your package.json file.
By following these steps, the build-css script will be automatically called whenever changes are made to the input.css file, allowing you to keep your Tailwind CSS up to date with ease.